Saturday, January 31, 2009

Semangat!

You Are The Universe by The Brand New Heavies

You're the future, and you've come for what is yours
The hidden treasure, locked behind the hidden doors
And the promise of a day that's shiny new
Only a dreamer, could afford this point of view
But you're a driver, not a passenger in life
And if you're ready, you won't have to try 'cause

You are the Universe
And there ain't nothin' you can't do
If you conceive it, you can achieve it
That's why, I believe in you, yes I do

You're a winner, so do what you came here for
The secret weapon, isn't secret anymore
You're a driver, never passenger in life
And when you're ready, you won't have to try 'cause

You are the Universe
And there ain't nothin' you can't do
If you conceive it, you can achieve it
That's why, I believe in you, yes I do


P.S.:Videonya jadul banget yaaah?!


lagu ini membuat gw semangat lagi (karena gw bener2 lagi down!!) Gw harap semua orang bisa ngerasain semangat lagu ini dan tetep berdoa dan tersenyum ya temen-temen!! :P
Friday, January 30, 2009

Tutorial: Basic Way To Brighten Your Picture

Okay folks, how are you? I already prepare a new tutorial for you about how making you picture more brighter and looks dramatic. Well, this is just how I usually do for some of my picture. I hope this tutorial is useful for all of you who read this! Hehe… Okay, now let’s start!
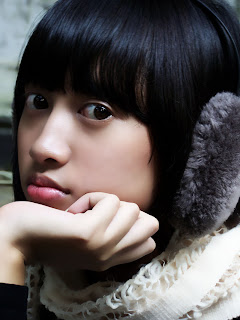
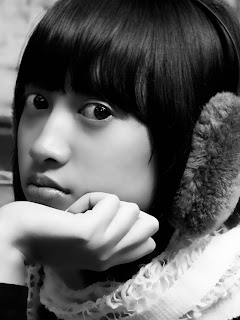
I am using this picture:


So here is the step. First, just do the first basic that I already told you before (previous post). And you will produce a picture like this:


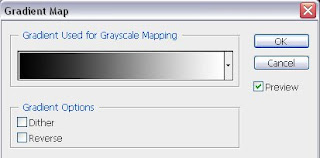
Second, duplicate your image using ctrl+J and then go to Image>Adjustment>Gradient Map. And then you will see a new window, and just set the gradient like this:


I only use black and white. And then click OK.
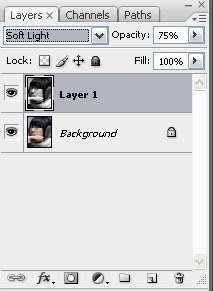
Third, change the blending setting to Soft Light and the opacity to 75% just like this:


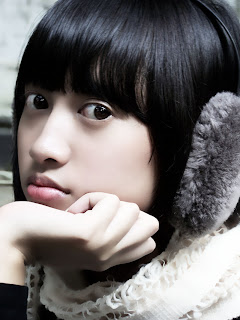
And you will produce a picture like this:


After that, please merge down image using ctrl+E.
If you already satisfied with this picture you can stop here, but to make it more dramatic do this next step:
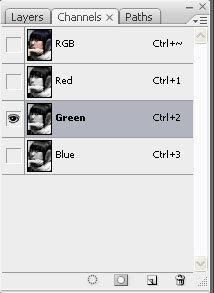
Duplicate the layer using ctrl+J, and then go to Channels button and choose the Green layer like this:


After that, select all the canvas using ctrl+A, and then ctrl+C to copy. Then, click the layers button and press ctrl+shift+N to make a new layer and then press ctrl+v to paste it. And you will produce a picture like this:


After that, change the blending setting to Screen and change the opacity to 65%. And you will produce a picture like this:


And, you’re done!
Thank you and sorry (again) for my bad English… Just correct me if I’m wrong.. :)

Thursday, January 29, 2009

Tutorial: Basic Way To Soften Your Picture!

Now, I want try to give you some tutorial about using Adobe Photoshop CS3. I just want to share my knowledge about how I retouch my picture, and I hope it will be useful for you all. First, I want to tell you how to make ur picture more soft. Just follow these steps:
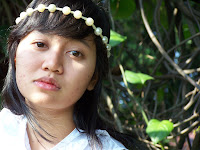
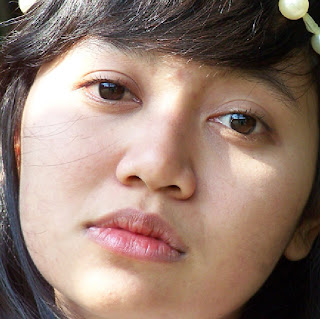
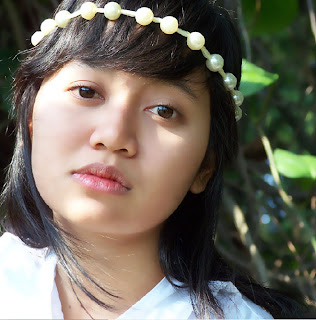
I’m using this picture:


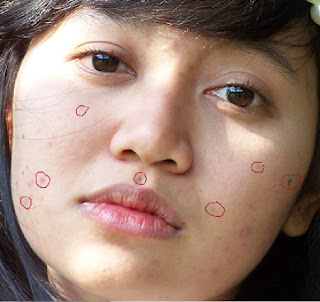
First, duplicate the layer (ctrl+J) and then choose Spot Healing Brush on your toolbar.


And then click on the blemishes spot (just the one really stand out), like this:


Become this:


After you do this, merge the picture using ctrl+E.
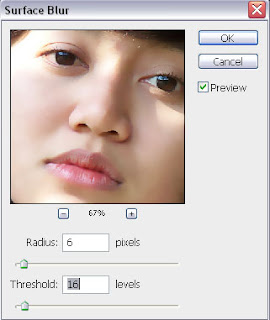
Second, duplicate the image again using (ctrl+J) and then go to Filter>Blur>Surface Blur. I am using this setting, and it’s depend on ur image.


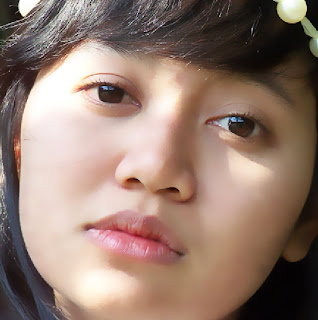
And the result is:


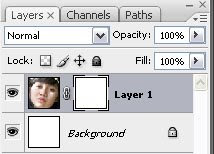
But, there are some part that should be more sharp like hair, lips, and the bandana. To do this, choose Layer>Layer Mask>Reveal All. And then on your layer will show this:


After that choose Erase from your toolbar,


And then erase the part that you want to make sharper, and the result will be like this:

the hair,bandana,lips and eyes will be look more sharp while the face look soft.
And then merge the picture using ctrl+E.

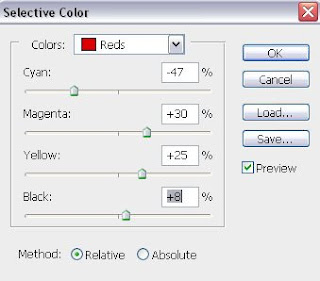
Third, in this picture the lips look very pale, so we gotta change the color of lips. I am using the selective color. Image>Adjustments>Selective Color. And you will see a new window, and then just change the percentage on red. I’m using this setting:

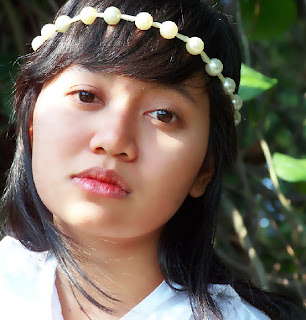
And the result is:


Well, u see that we the first picture:


After retouching you get this:


Voila! Hope this tutorial is useful for you!! And sorry for my bad english!