I’m using this picture:

First, duplicate the layer (ctrl+J) and then choose Spot Healing Brush on your toolbar.

And then click on the blemishes spot (just the one really stand out), like this:
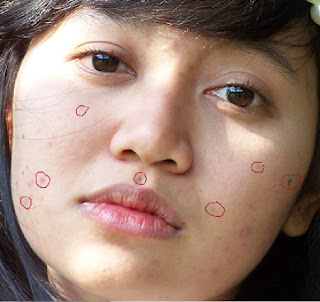
Become this:
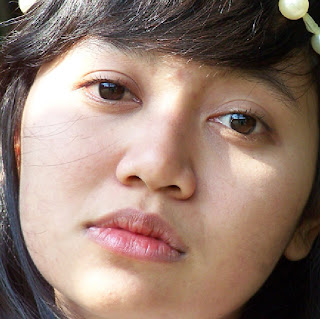
After you do this, merge the picture using ctrl+E.
Second, duplicate the image again using (ctrl+J) and then go to Filter>Blur>Surface Blur. I am using this setting, and it’s depend on ur image.
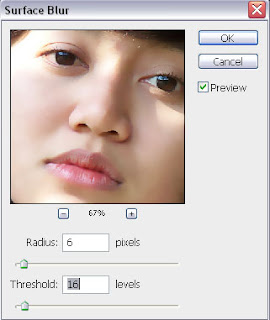
And the result is:
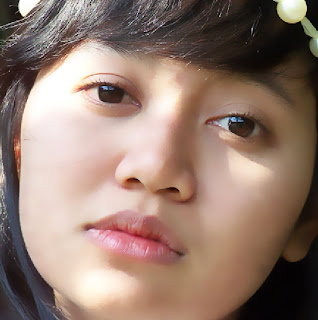
But, there are some part that should be more sharp like hair, lips, and the bandana. To do this, choose Layer>Layer Mask>Reveal All. And then on your layer will show this:
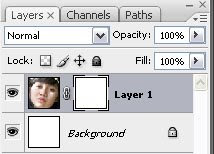
After that choose Erase from your toolbar,

And then erase the part that you want to make sharper, and the result will be like this:
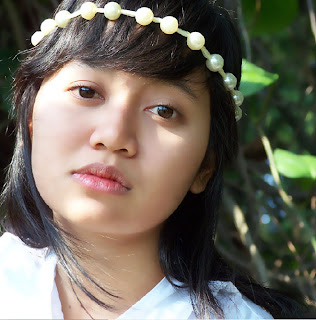
the hair,bandana,lips and eyes will be look more sharp while the face look soft.
And then merge the picture using ctrl+E.
Third, in this picture the lips look very pale, so we gotta change the color of lips. I am using the selective color. Image>Adjustments>Selective Color. And you will see a new window, and then just change the percentage on red. I’m using this setting:
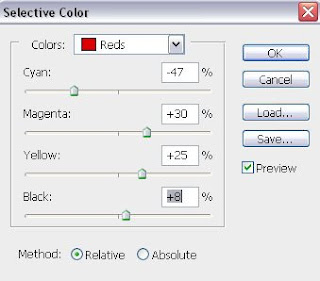
And the result is:

Well, u see that we the first picture:

After retouching you get this:

Voila! Hope this tutorial is useful for you!! And sorry for my bad english!
No comments:
Post a Comment
Thank you :)