Showing posts with label Photoshop Tutorial. Show all posts

Friday, January 30, 2009

Tutorial: Basic Way To Brighten Your Picture

Okay folks, how are you? I already prepare a new tutorial for you about how making you picture more brighter and looks dramatic. Well, this is just how I usually do for some of my picture. I hope this tutorial is useful for all of you who read this! Hehe… Okay, now let’s start!
I am using this picture:


So here is the step. First, just do the first basic that I already told you before (previous post). And you will produce a picture like this:


Second, duplicate your image using ctrl+J and then go to Image>Adjustment>Gradient Map. And then you will see a new window, and just set the gradient like this:


I only use black and white. And then click OK.
Third, change the blending setting to Soft Light and the opacity to 75% just like this:


And you will produce a picture like this:


After that, please merge down image using ctrl+E.
If you already satisfied with this picture you can stop here, but to make it more dramatic do this next step:
Duplicate the layer using ctrl+J, and then go to Channels button and choose the Green layer like this:


After that, select all the canvas using ctrl+A, and then ctrl+C to copy. Then, click the layers button and press ctrl+shift+N to make a new layer and then press ctrl+v to paste it. And you will produce a picture like this:


After that, change the blending setting to Screen and change the opacity to 65%. And you will produce a picture like this:


And, you’re done!
Thank you and sorry (again) for my bad English… Just correct me if I’m wrong.. :)

Thursday, January 29, 2009

Tutorial: Basic Way To Soften Your Picture!

Now, I want try to give you some tutorial about using Adobe Photoshop CS3. I just want to share my knowledge about how I retouch my picture, and I hope it will be useful for you all. First, I want to tell you how to make ur picture more soft. Just follow these steps:
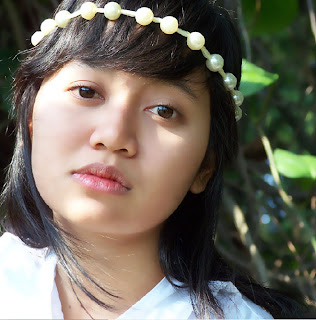
I’m using this picture:


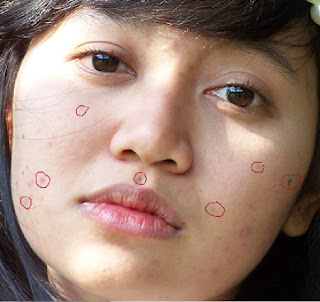
First, duplicate the layer (ctrl+J) and then choose Spot Healing Brush on your toolbar.


And then click on the blemishes spot (just the one really stand out), like this:


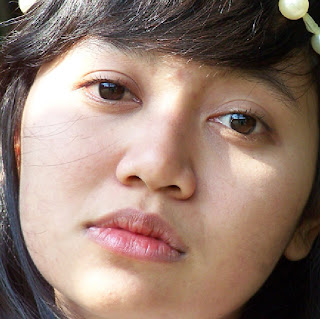
Become this:


After you do this, merge the picture using ctrl+E.
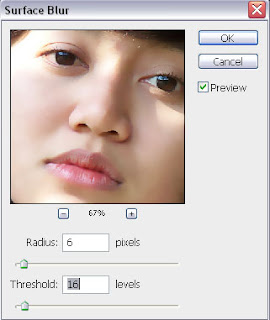
Second, duplicate the image again using (ctrl+J) and then go to Filter>Blur>Surface Blur. I am using this setting, and it’s depend on ur image.


And the result is:


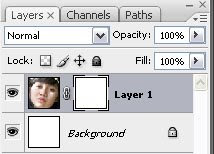
But, there are some part that should be more sharp like hair, lips, and the bandana. To do this, choose Layer>Layer Mask>Reveal All. And then on your layer will show this:


After that choose Erase from your toolbar,


And then erase the part that you want to make sharper, and the result will be like this:

the hair,bandana,lips and eyes will be look more sharp while the face look soft.
And then merge the picture using ctrl+E.

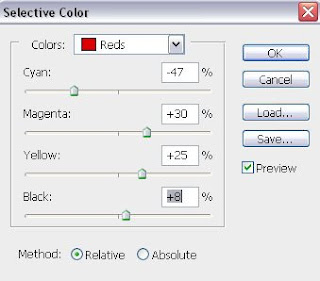
Third, in this picture the lips look very pale, so we gotta change the color of lips. I am using the selective color. Image>Adjustments>Selective Color. And you will see a new window, and then just change the percentage on red. I’m using this setting:

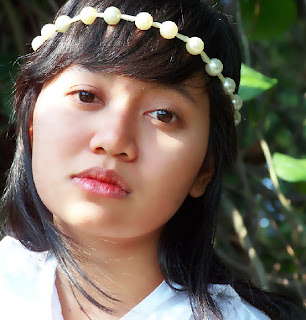
And the result is:


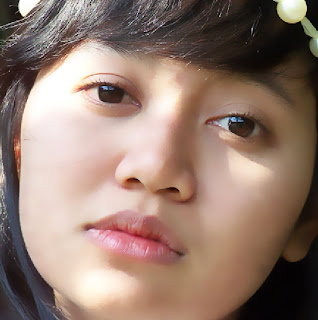
Well, u see that we the first picture:


After retouching you get this:


Voila! Hope this tutorial is useful for you!! And sorry for my bad english!